Learn how to get started with Bloom in 5 minutes.
Bloom can be installed from the Shopify App Marketplace and includes a free trial period.
When you open Bloom for the first time, you will see a simple setup wizard with a few steps. Let's go over them briefly.
For this step, you will need to configure your date and time settings for at least one delivery method (either Delivery or Pick Up). Click the Configure delivery button or use the navigation menu to get started.
At a minimum, you must set which days of the week are active for this method. These are the days you offer delivery/pick-up.

Feel free to explore the additional date and time options provided, though these are optional.
Here you can manage how Bloom appears to customers on your online store. This includes making changes to the display style and accent colors.
For vintage themes, this will also include placement options for determining where Bloom will appear.
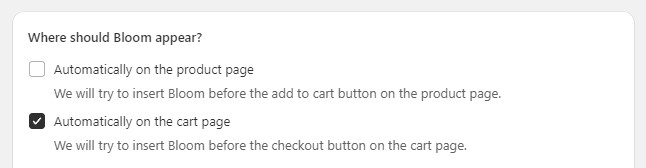
For Online Store 2.0 themes, this is controlled via app blocks, so instead you will see a notice directing you towards your theme editor.

The last step for vintage themes is to click the Activate button, and Bloom will appear immediately on your online store.
For Online Store 2.0 themes, you will need to complete one last step to get Bloom up and running. If you don't see a Step 4, then you are using a vintage theme and you have finished the setup!
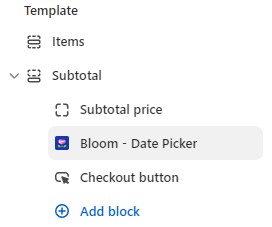
The last step for 2.0 themes is to add the app block to your online store, on either the Product or Cart template.
Click the Customize theme button to go directly to the editor.
If you are unfamiliar with app blocks and using your theme editor, read our app block guide to get started.
Once you have added the app block and hit Save, Bloom will be live on your store!